Hello Ladies!
Today I have a really interesting post, because the amazing girls at piCture pOlish got me the chance to participate this year's PP Blog/Insta Fest! I was beyond happy when I recieved the email and I was so excited. Today's post will contain a nail polish swatch/review and a creative nail art with a new nail art product that PP is retailing now. So brace yourself and be prepared for a picture heavy and exciting post :)
I think the new PP shades are really pretty, I love all the scattered holos and from the collab shades I like Fool's Gold the best. I have Pandora here, which is my most fave, or maybe Eyre is my fave? Who knows? I'm surely not :D They are all amazing!
Pandora is a gorgeous deep purple jelly with tons of holographic flakes. Sometimes I see a little bit of burnt, plum tipe of color in it, sometimes it's "just" a purple. It's the perfect fall universe, simply amazing! The formula is perfect as always, this is 2 coats. It dries quick and leaves a shiny finish. Need anything else? No, I dont think so, it's perfect.
I don't really know what to say without repeating myself, it's truly a wonderful nail polish and you can't go wrong with it.
As always, I took the photos in different lightings: indoor, sunlight and lamp, so you can see how the color and finish varies. In sunlight it's a brighter purple with extreme holographic effect, under the lamp the color changes and it becomes more "fall". That's when I see a little bit of burnt, burgundy undertone. Indoors it's a deep purple with restrained holographic effect.Without further words let's just look through the pictures and be amazed :)
So, this was Pandora, do you like it?
-----------------------------------------------------------------------------
We arrived to the second part of the post. piCture pOlish started to retailing Nail Vinyls. They carry a special exclusive 4-pack Nail Vinyls, containing chevrons, mini chevrons, straight and right angle. You can find more info about Nail Vinyls here:
So, we had to use the Nail Vinyls and 2 PP shades that was sent out to us, and only those items, no studs, no nothing! It was really a fun challange and I think I could come up with a manicure that I really like and also I could show the potencials that a straight Nail Vinyls have. Yes, you can do lines with it, but it's really just the tip of the iceberg :)
First things first, I got Watermelon and Instinct. All the 2 shades are greatly pigmented, so they are perfect for a nail art like this. At first I wasn't sure about the color choice, but when the manicure was done I could only smile #notbadatall!
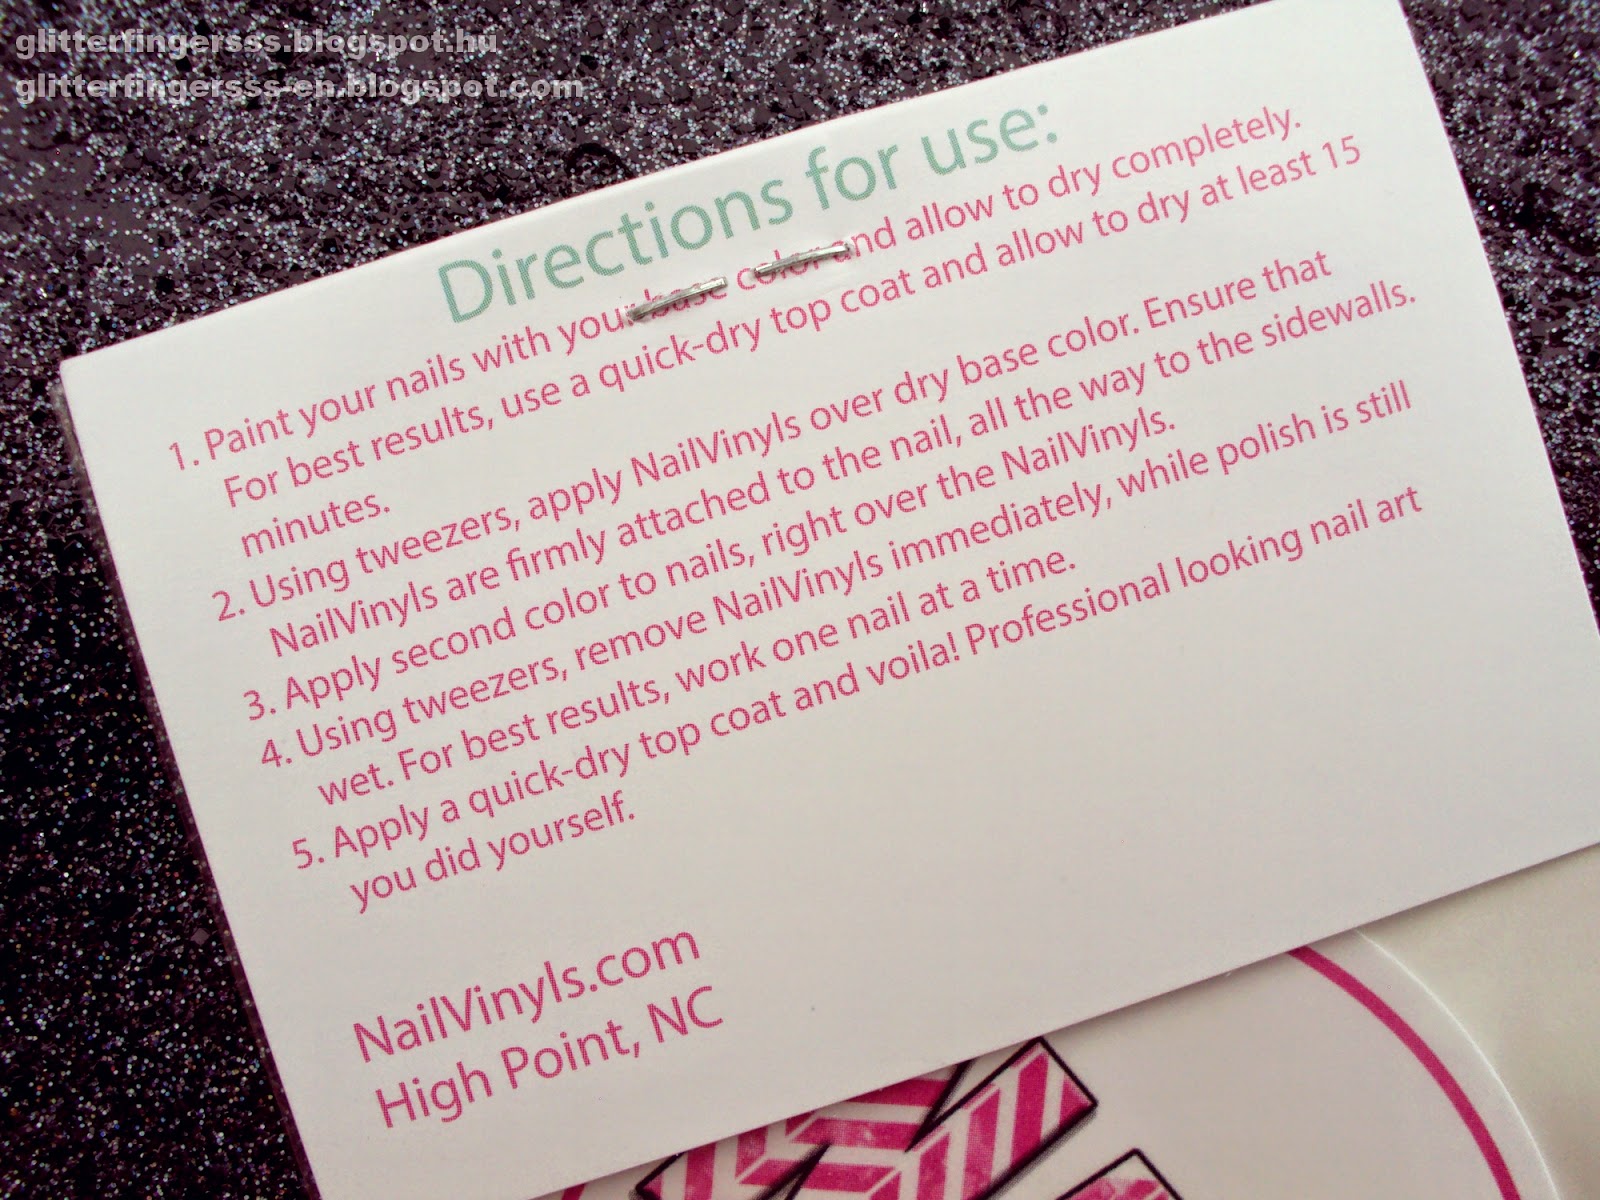
The Nail Vinyls comes with a directions for use, it's really not a rocket science, everyone can make great manicures with these.
You get 3 size options as you can see below:
I must say, that I had a little bit of difficulty with the Nail Vinyls. Maybe because I'm not a pro when it comes to nail stripes (I mostly do freehanded designs) or maybe (most likely) the temperature was too hot that day when I made the nail art, I don't know, but the glue from my nail stripes kept stucking in my nails after I removed the stripes and it ruined the fine lines. I searched around the internet and as far as I can see no one had this issue with the strips, so it's probably just me and my lucky personality ... So, after a couple of failures I came up with a resolution. Before I applied the stripes to my nails, I lightly sticked it to a paper, so the extra glue sticked to the paper instead of my nails. With this trick the nail stripes worked fine! They have enough lenght and they stick well, but not "nail polish damaging well" and I really like that they have size options too!
Until that, let's see what nail art I made, I hope you like it. I created a fun geometric negative space manicure with triangles in the focus.
The video is ready, if you have any questions, feel free to ask :)
Here are some useful links about piCture pOlish:
You can check out the other participant's work below:
(Thanks for the InLinkz code to Very Emily! :) )


Pandora <3
ReplyDeleteAnd your nail art is beautiful!
What an awesome manicure! Love that you added some negative space to it!
ReplyDeleteI just got my acrylic nails done and they look fantastic! I would definitely recommend them to anyone looking for a durable and great looking nail option.
ReplyDelete